Automating PowerPoint Generation via Code Interpreter

Writer

Generating dynamic presentations from tabular data is the holy grail of reporting automation—essentially, the “mail merge” of PowerPoint. While there are premium connectors that do this out of the box, architecting your own solution gives you complete control over the pipeline and keeps the logic inside the Power Platform you already pay for.
By combining Power Automate, Excel, and the AI Builder Code Interpreter, you can build a scalable automation that turns each row of a table into its own tailored slide deck. This pattern blends the rapid deployment of low-code with the robust file-manipulation power of Python (python-pptx)—and the interpreter writes the Python for you.
This is a deep, hands-on dive: prerequisites, the template design, the flow, the exact prompt, and the wiring that actually gets a finished .pptx back out of the prompt and into a file. By the end you’ll have a working mental model and the specific expressions to copy.
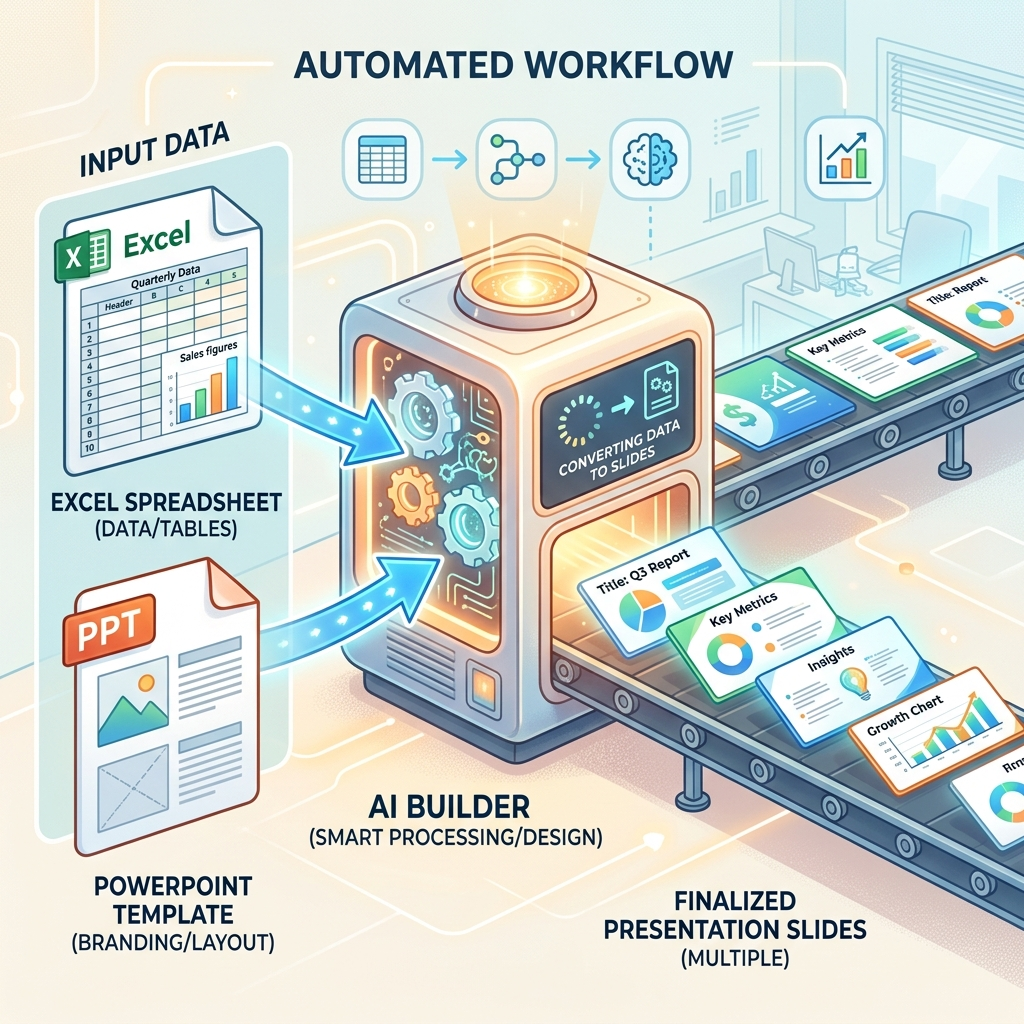
The pipeline at a glance:
- A
.pptxtemplate with{curly_bracket}tokens where dynamic text goes. - An Excel/Dataverse/SQL table—one row per deck you want to produce.
- A Power Automate flow that loops the rows.
- An AI Builder prompt with Code Interpreter that opens the template, swaps the tokens for the row’s values, and returns a new
.pptx. - A Create file action that saves each deck to SharePoint or OneDrive.
0. Prerequisites: What You Actually Need
Before you build anything, confirm these—missing one of them is the most common reason the “Enable code interpreter” toggle never appears or the flow fails at runtime.
- Licensing. Code interpreter is a premium generative-AI capability. It runs on GPT models via Azure OpenAI and consumes AI Builder credits (or is covered under Copilot Studio premium billing). You need credits allocated to the environment you build in.
- Admin enablement (per environment). A tenant admin must switch the feature on in the Power Platform Admin Center → Copilot → “Code generation and execution in Copilot Studio,” then add your target environment and tick the enable box. Without this, makers don’t see the toggle.
- Cloud + region. Available in public clouds only. Sovereign/government clouds are not supported at the time of writing, and availability is region-limited—check that your environment’s region is covered.
- A premium Power Automate seat to run AI Builder actions in a cloud flow.
- A data source (Excel table in OneDrive/SharePoint, Dataverse, or SQL) and your master
.pptxtemplate.
Reality check: This is not a “free, no-license-needed” trick. If you can’t see Enable code interpreter in the prompt settings, it’s almost always one of two things—the feature isn’t enabled for your environment in the Admin Center, or the environment has no AI Builder credits. Sort that out first.
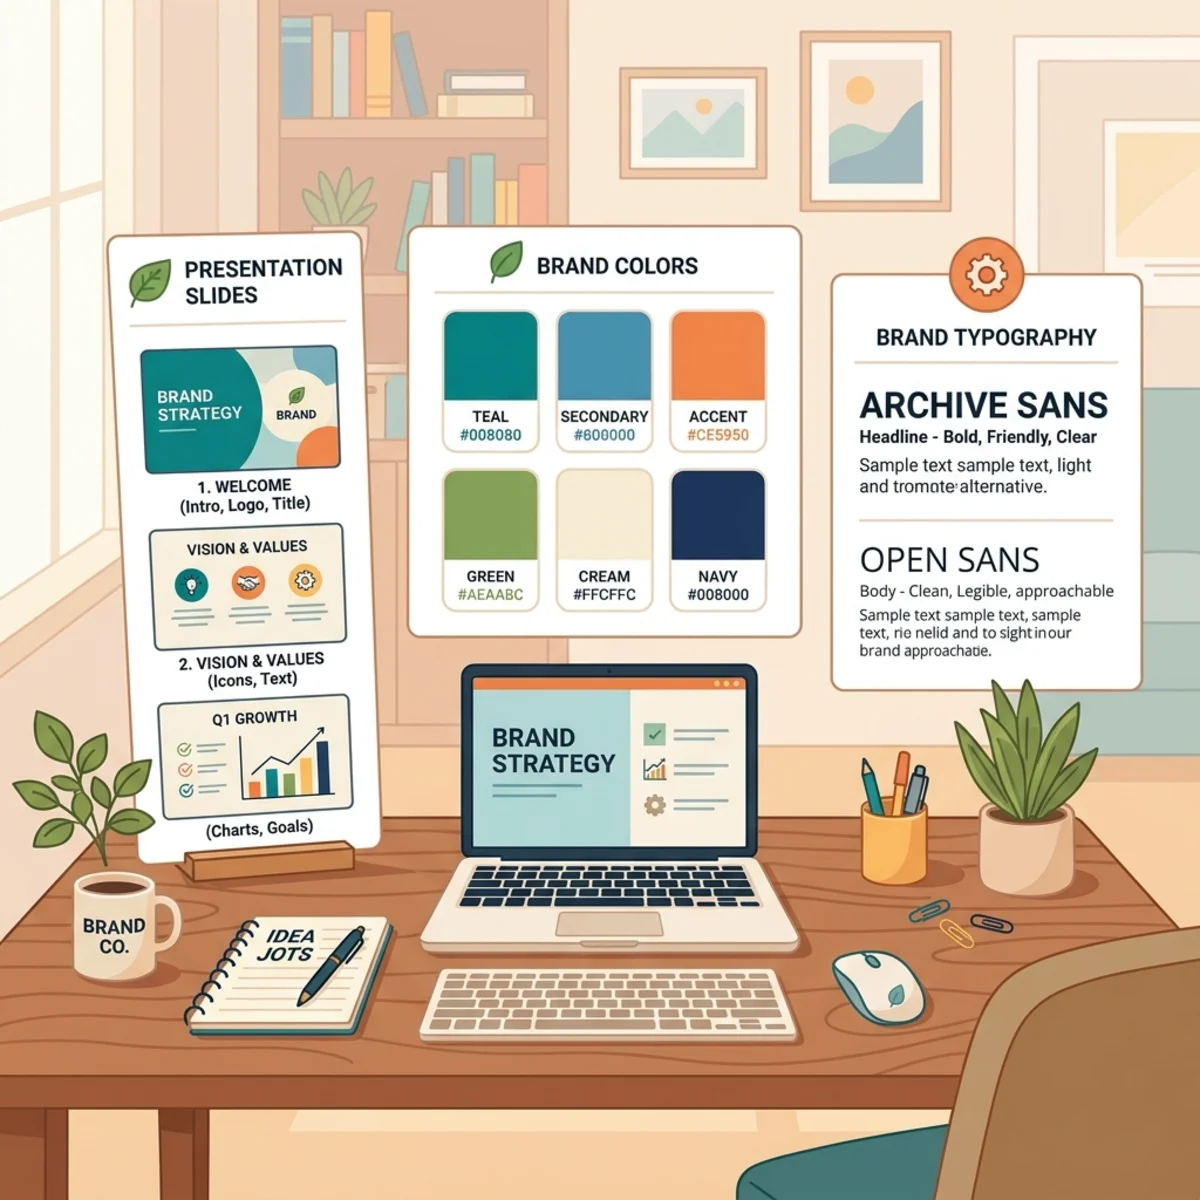
1. Preparing the PowerPoint Template: The Placeholder Debate
The foundation of this automation is your master .pptx file. When deciding where dynamic data should go, you have two paths.
The Shape Name Method (Not Recommended)
You can use PowerPoint’s Selection Pane to rename individual shapes/text boxes to match your variables (e.g., naming a box ClientName). The interpreter can target shapes by name, but it forces you to break sentences into multiple text boxes. A line like “Prepared for [Client] by [Manager]” becomes three perfectly aligned shapes. It’s brittle and a maintenance nightmare.
The Curly Bracket Method (The Architect’s Choice)
Instead, use inline placeholders wrapped in curly brackets: {client_name} or {account_manager}. You write natural paragraphs in a single text box, and the script performs direct string replacements—preserving your native fonts, sizes, and styling.
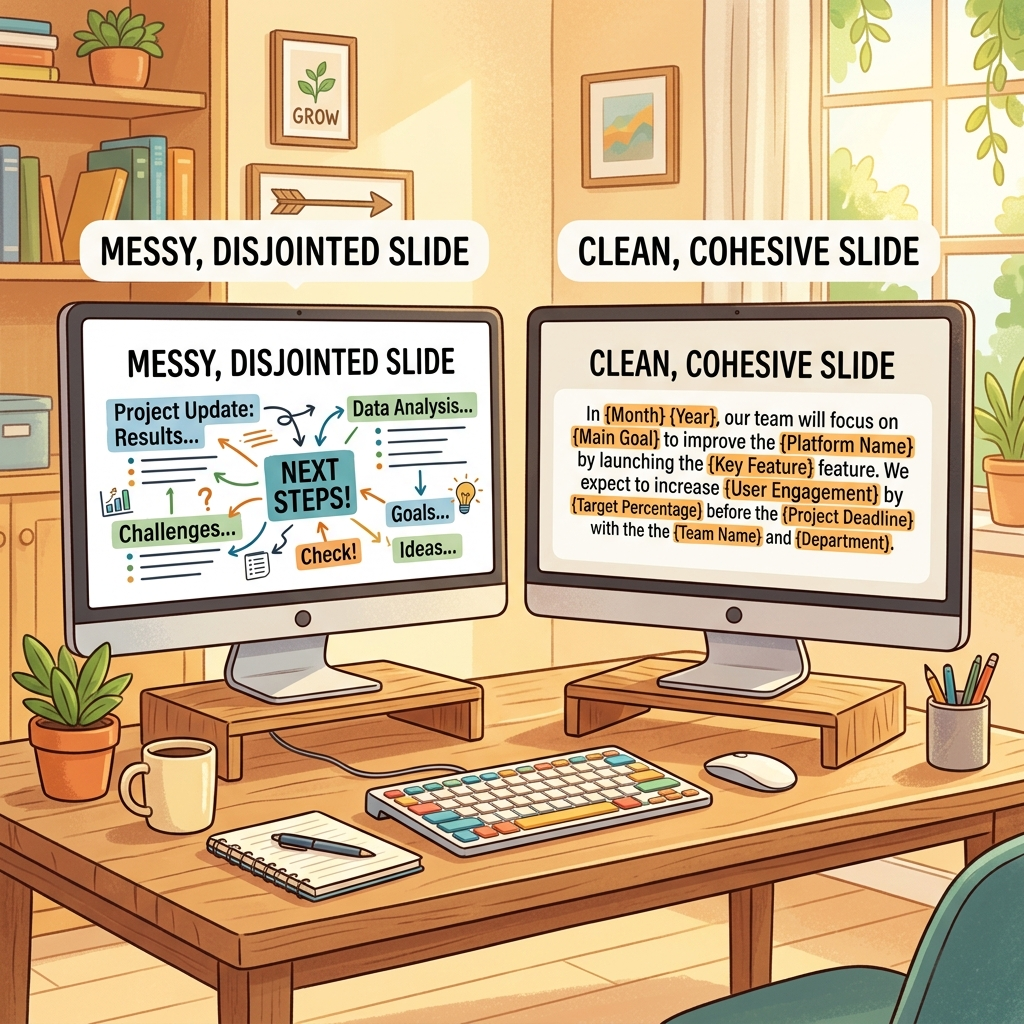
Template design: Prefer curly brackets for dynamic text. They keep sentence flow and formatting intact without a fragile layout of disjointed boxes. Pick one delimiter style ({...}) and use it everywhere so your prompt’s matching rule is dead simple.
The Gotcha Nobody Mentions: PowerPoint Splits Your Tokens Into “Runs”
Here’s the hands-on detail that trips up almost everyone the first time. In the Open XML that backs a .pptx, paragraph text isn’t stored as one string—it’s stored as a sequence of runs, each a span of uniformly formatted characters. PowerPoint silently splits a run whenever formatting changes, and even when it doesn’t look like anything changed (spell-check underlines, an autocorrect, a stray bold keystroke you later undid).
The practical consequence: a token you typed as {client_name} can be physically stored as three separate runs—{client, _, name}. A naive run.text.replace("{client_name}", value) will never match, because no single run contains the whole token. The replacement silently does nothing and you get a deck full of literal {client_name} strings.

Two ways to defend against it:
- At authoring time: Type each token in one clean motion, in a span of uniform formatting. After typing, select the token and re-apply a single font/size/color so PowerPoint merges it into one run. Avoid changing formatting mid-token.
- At code time (preferred): Have the interpreter reconstruct the paragraph’s full text from all its runs, do the replacement on that joined string, then write the result back—conserving the formatting of the first run. You don’t write this code yourself; you just instruct the prompt to do it (the exact wording is in Section 3).
Two kinds of brackets, don’t confuse them: {curly} tokens are the
literal strings that live inside your slides. The [square-bracket]
references you’ll see in the prompt builder are how AI Builder refers to your
prompt inputs (the template file and each value). They are not the same
thing.
2. Architecting the Power Automate Flow
The flow retrieves your rows, hands each one to the prompt, and saves the result. Build it in this order.
- Trigger. Start with a manual trigger while testing. In production this slots cleanly behind a Canvas App, a Copilot Studio agent, a scheduled run, or a SharePoint file-drop.
- Get the template. Add Get file content (SharePoint or OneDrive) to pull your master
.pptxinto the flow. You’ll pass this binary into the prompt. Do this once, before the loop—the template doesn’t change per row, so there’s no reason to re-fetch it on every iteration. - Fetch the data. Add List rows present in a table (Excel), List rows (Dataverse), or a SQL query to return your dataset.
- Loop. The moment you reference a column from your dataset in a later action, Power Automate wraps that logic in an Apply to each, iterating row by row. Inside the loop is where the prompt and the file creation live.
Scale tuning: Each deck is a separate AI Builder call, so throughput is governed by your credits and any capacity throttling—not “dozens in one second.” For large batches, open the Apply to each → Settings, keep Concurrency modest (e.g. 5–10) so you don’t trip rate limits, and expect the run to take minutes, not an instant. It’s still hands-free; just set expectations.
3. The Engine: AI Builder Code Interpreter
This is where the work happens. We’re not using the model to write prose—we’re using it as an on-demand developer that opens your file and edits it with Python.
Build the prompt
- In Power Automate (or Power Apps AI Hub), go to AI hub → Prompts → Build your own prompt and name it, e.g.,
Generate Deck From Template. (The action that calls it in a flow is Run a prompt—formerly “Create text with GPT using a prompt.”) - Click the … (three dots) → Settings, scroll to Enable code interpreter, and turn it on. Close settings.
- Set the prompt output type to “Documents/Images” (not Text). This is essential and easy to miss—if it’s left on Text, you’ll never get a file back, only a description of one.
- Add your inputs:
- One Document or file input for the template (call it
Template). With code interpreter on, file inputs accept.pptx,.docx,.xlsx,.pdf, and images. - One Text input per placeholder—
client_name,account_manager,region,price,follow_up_date, etc.
- One Document or file input for the template (call it
- Write explicit instructions. Be prescriptive; the more latitude you leave, the more the generated code can drift between runs. Something like:
- Test the prompt: upload a sample template and type sample values. Inspect the returned deck. Switch to the Code view to read the Python the model generated—if a token didn’t replace, refine your instructions (usually the run-splitting rule) and re-test until the output is correct and stable. Then Save.
How runtime actually works (read this): Microsoft’s docs are explicit—the
interpreter relies on a language model to generate the Python and then
executes it in a secure, isolated sandbox, on every run. So the model is
still in the loop; this is not “the LLM is bypassed and only frozen code
runs.” What you actually gain is that the file edits themselves are done by
deterministic Python (exact string operations) rather than an LLM free-typing
your slides. That’s the difference between “reliably correct” and “usually
close.” Tighten the prompt until the generated code stops varying, and add an
explicit rule for anything the model still has latitude over. If you change
your {placeholders}, re-test the prompt so it regenerates code that matches.
Wire the prompt into the flow
Inside your Apply to each, add the Run a prompt action and select your saved prompt. Map its inputs:
- Template → the base64/binary from your Get file content step (
File Content). If you hitUnable to identify the mimetype input, it’s almost always that the file input isn’t receiving proper file content—make sure you’re passing the File Content output, not a path or URL. - Each text input → the matching column from the current row, with formatting applied (see Section 4).
4. Getting the Finished File Back Out
The biggest missing piece in most write-ups: a code-interpreter prompt set to “Documents/Images” doesn’t return a single blob—it returns an array of files, each as base64. You have to dig it out and convert it.
The files live at:
(Replace Run_a_prompt with your action’s name—Power Automate uses underscores for spaces.) Each item in that array exposes file_name and base64_content.
Because we return exactly one deck per row, you can take the first file directly. Add a Create file action (SharePoint or OneDrive) right after the prompt, and for File Content use:
One file in, one file out: Code interpreter currently does not support returning multiple files from a single prompt, nor analyzing multiple uploaded files in one prompt. Our pattern fits perfectly—one template in, one deck out, per loop iteration. Don’t try to batch several decks into one prompt call; loop instead.
5. Conquering Data Formatting (Dates & Floats)
Moving data from an Excel grid to a presentation layer strips formatting. Handle types in your flow expressions before they reach the prompt—the interpreter replaces strings literally, so whatever you pass is exactly what lands on the slide.
Taming Excel Dates
Excel stores dates as serial numbers (days since 1899‑12‑30). When the column isn’t surfaced as a true date, the connector passes that raw serial—so 45000 shows up where you wanted a date.
- In List rows, open Advanced parameters and set DateTimeFormat to ISO 8601, so the connector emits proper date strings.
- Format the date for the slide using an expression on the input mapping:
Formatting Currency and Type Casting
Numbers from Excel frequently arrive as strings, which makes formatNumber() fail. Cast to a float (or int) first:
Type-casting trick: formatNumber expects a number, but Excel often hands
you a string. Wrap the value in float() or int() before formatting, and
pass an explicit locale ('en-US') so the currency symbol and separators are
predictable.
6. Output File Naming
Inside the loop, after Create file, make sure your file names are dynamic and collision-proof. Combine the client name with a UTC timestamp—and never forget the extension:
If two rows share a client name and process within the same second, even the timestamp can collide. For absolute safety, append a guid():
File-naming tip: Always include the .pptx extension in the name string.
Omit it and the Create file action produces a file that PowerPoint can’t
open by default.
Troubleshooting: The Errors You’ll Probably Hit
Unable to identify the mimetype input— the file input isn’t getting valid file content. Pass the File Content output of Get file content straight into theTemplateinput.- The prompt returns text, not a file — the output type is still Text. Reopen the prompt, set it to Documents/Images, re-test, and save.
- “Need attention” on the prompt — reopen it, confirm code interpreter is on and the output type is correct, then re-test.
- Tokens not replaced — classic run-splitting (Section 1). Strengthen the run-reconstruction rule in your instructions, or re-type the tokens cleanly in the template.
- Throttling / out of credits at scale — code generation and execution consume AI Builder credits and are subject to capacity throttling. Lower the Apply to each concurrency and confirm credit allocation for the environment.
Architectural Alternatives
Code Interpreter inside Power Automate is an exceptionally fast way to ship this, but it’s not the only road—pick by your team’s pro-code comfort and governance needs:
- Azure Functions. For pro-code teams, a Python
python-pptxscript hosted as a serverless function gives you the ultimate control, testability, and scale—no AI Builder credits, full version control, and no per-run model dependency. - Office Scripts + Power Automate. For lighter, Office-native transformations, an Office Script can manipulate Office files from a flow without AI Builder licensing—handy when you don’t need full Python.
- Copilot Studio agents. The same code-interpreter prompt can be surfaced as a tool inside a conversational agent, turning “generate my deck” into something a user just asks for in chat.
- Third-party connectors. Tools like Encodian or Plumsail offer managed, out-of-the-box PPTX population if you’d rather rely on a supported SaaS connector than maintain your own prompt.
By adopting this Python-backed low-code pattern, you eliminate hours of manual copy-pasting and let people generate beautiful, data-driven decks on demand—while keeping the whole pipeline inside the Power Platform you already run.
Read next