Intelligent Automation: Bringing the Agent Loop to Azure Logic Apps

Writer
Workflows have long been the rigid, deterministic backbone of enterprise automation. But as business requirements grow more complex, developers keep hitting scenarios that demand a degree of cognitive flexibility no if/else branch can capture. What if your structured workflows could think, reason, and converse?
With the Agent Loop in Azure Logic Apps, Microsoft bridges the gap between predictable automation and the reasoning power of Large Language Models (LLMs). This turns standard orchestration into intelligent, partly conversational processes—and the best part is you bolt it onto the connectors and workflows you already run.
This article walks through both the why and the how: the architecture, plus a concrete build you can reproduce in your own tenant.
Marrying Determinism with Ambiguity
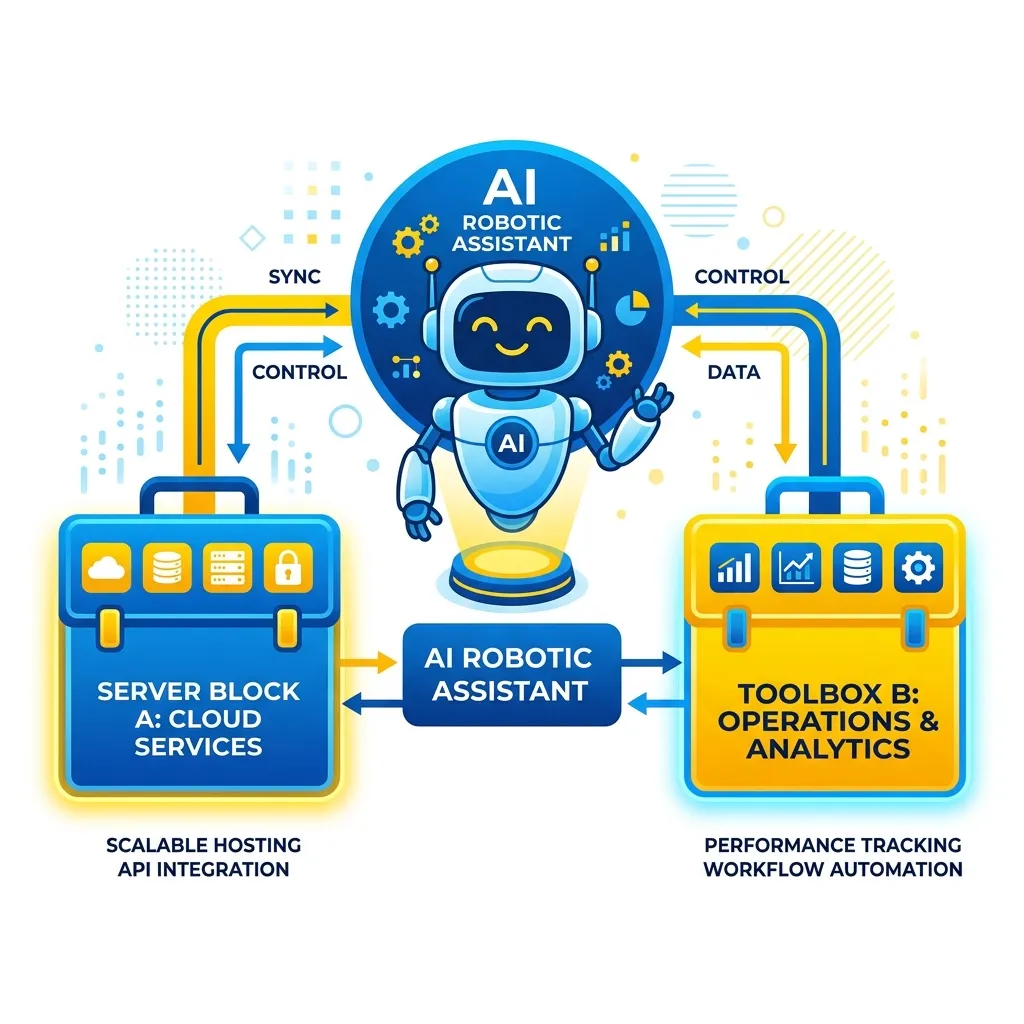
The architectural philosophy here is a clean division of labor: LLMs excel at parsing ambiguous, unstructured tasks, while Logic Apps are unmatched at executing reliable, repeatable business logic.
Combine the two and you get systems that gracefully handle the messiness of human requests while still enforcing strict organizational rules. Whether you are rotating secrets, syncing Active Directory properties from a Dynamics HR system, or provisioning resources, the Agent Loop injects cognitive decision-making directly into your existing Logic App ecosystem—no rebuild required.
Before You Start: What You Need
The Agent Loop is available in both Consumption (multitenant, in preview) and Standard (single-tenant) logic apps. Most enterprise teams will use Standard, so that’s the path this guide follows. Here’s the checklist:
- A Standard logic app (or an existing Stateful workflow you want to “smarten”—stateless workflows are not supported).
- A workflow type: Autonomous Agents (no human in the loop) or Conversational Agents (chat-driven). You can also add an Agent action to an existing Stateful workflow.
- A model source. In Standard you connect the agent to one of:
- An Azure OpenAI Service resource with a deployed chat model (the common choice).
- A Microsoft Foundry project (preview)—requires managed identity auth.
- An Azure API Management account fronting an LLM API (preview).
- A supported, deployed model. Standard supports
gpt-5,gpt-4.1,gpt-4.1-mini,gpt-4.1-nano,gpt-4o,gpt-4o-mini,gpt-4, andgpt-35-turbo. - Connection authentication—prefer managed identity over keys.
Cost note: In Standard, the agentic workflow itself adds no extra charge—you
pay only for model token usage through your Azure OpenAI / Foundry resource.
In Consumption, agent runs are billed as token-based Enterprise Units. Start
with a mini model while you iterate on prompts, then size up if you need it.
The Anatomy of the Agent Loop
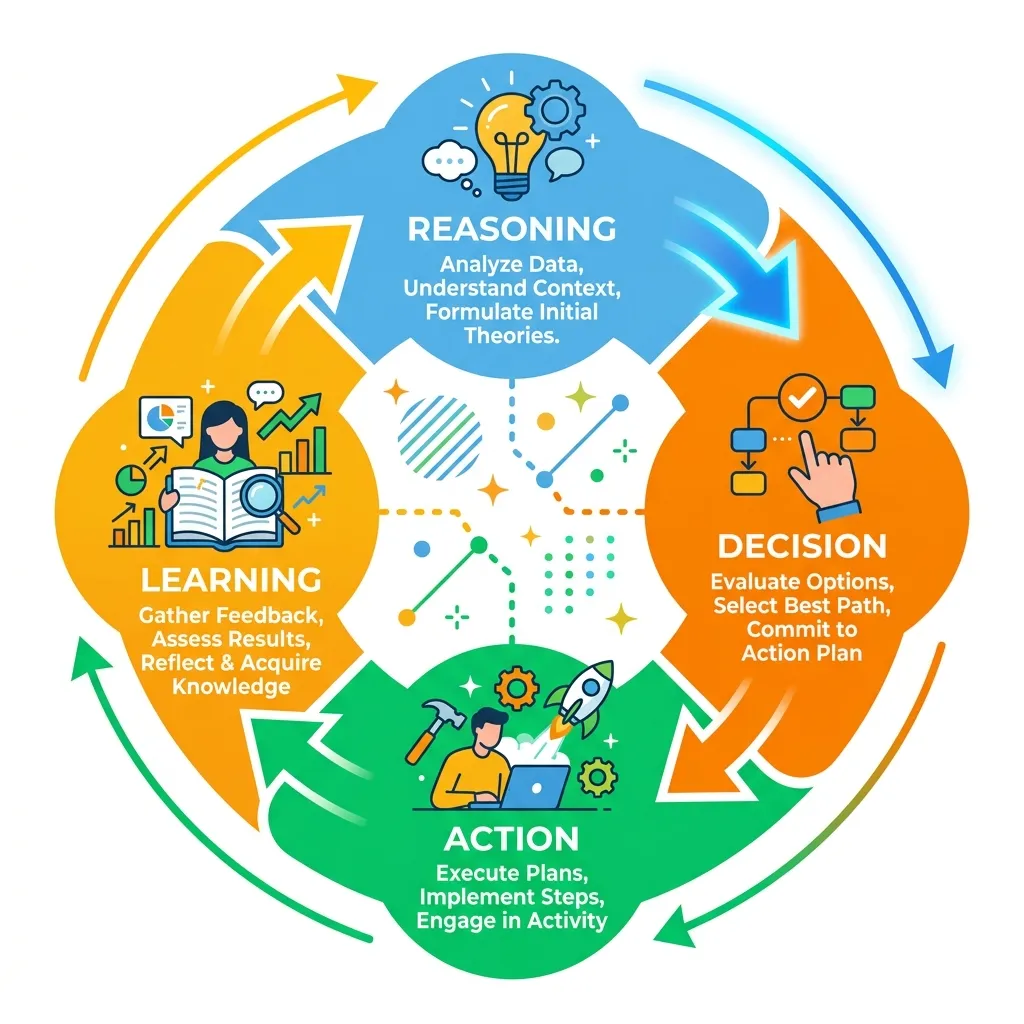
In a traditional Logic App, data flows linearly (or through predefined conditional branches) from step to step. The Agent Loop replaces that with an iterative cycle the agent repeats until its goal is met:
- Think — collect and analyze the available inputs, instructions, and context, then reason about the best next move.
- Act — invoke one or more tools to do real work (call an API, send mail, update a record).
- Learn (optional) — fold the tool results back into context and adapt the next iteration.
To configure an agent, you provision it with three things:
- A model: (e.g., Azure OpenAI) acting as the cognitive engine.
- Instructions: the system prompt—role, objective, and operational guardrails. Optionally user instructions that act as task prompts.
- Tools: the actionable levers the agent can pull to change the environment.
Crucially, the Agent is a first-class action you drop into a workflow, and you build its tools from the 1,400+ existing connectors. That means you can retrofit a legacy workflow with reasoning without ripping it apart.
Integration Tip: Treat the Agent as just another node. You can add it to an existing Stateful workflow via Add an action → Agent, or start fresh from the Autonomous Agents / Conversational Agents workflow templates.
Hands-On: Build Your First Agent Loop
Let’s make this concrete with the canonical “weather agent” that emails a report. The same pattern scales to secret rotation, provisioning, or HR sync.
-
Create the workflow. In your Standard logic app, go to Workflows → Create, and choose the Autonomous Agents type. You get a partial workflow with an empty Default Agent action. (To retrofit instead, open a Stateful workflow and add an Agent action.)
-
Add a trigger. Autonomous workflows accept any trigger—
Recurrence,When an HTTP request is received, a queue message, etc. Pick what fits. -
Connect the model. Select the Agent action’s title bar to open the Create connection pane. Choose your model source (e.g., Azure OpenAI), authentication (Managed identity), then select your deployed model. Save the connection.
-
Name the agent and write instructions. Rename it to something descriptive (e.g.,
Weather agent), then fill the Instructions box with a prescriptive system prompt. Spell out the role, the actions available, restrictions, and edge cases—for example:You’re an AI agent that generates a weather report and emails it to each subscriber on a list. The list includes each subscriber’s name, location, and email. Format with bullet lists where appropriate. Keep it concise, friendly, and add tips like “Carry an umbrella” when relevant.
-
Add a tool. Inside the agent loop, under Add tool, click the +, browse the connector gallery, and pick an action—here, MSN Weather → Get current weather. Give the tool a clear name (
Get weather) and description (Get the weather for the specified location.). The description is what the model reads to decide when to call it, so make it count. -
Create agent parameters (covered next) so the model can supply the action’s inputs.
-
Save and run. Open Run history → latest run. The Agent log pane shows the agent’s reasoning, each tool call, and the raw inputs/outputs. Iterate on the prompt from here.
Reality check: If you run before adding any tools, the agent can only talk, not do—it may even try to “send” an email it has no tool for. An agent with no tools is just a chatbot. Tools are what make it an agent.
Exposing Workflows as Tools (and Agent Parameters)
“Tools” are the most powerful paradigm here. You’re not limited to basic API calls—a tool can wrap any connector action, a custom API, or even an entirely separate Logic App workflow, then expose it to the agent.
An IT Operations agent doing secret rotation can decide on its own to pull expiring keys via a Key Vault tool and update task status via an Azure DevOps tool—all orchestrated from its initial prompt.
A few rules are worth memorizing, because the designer enforces them:
- A tool contains at least one action and only actions—no triggers.
- Control-flow actions (conditions, loops, scopes) are not supported inside a tool.
- A tool is scoped to the agent loop it lives in; it can’t be shared across agents.
Agent parameters are the bridge between the model’s reasoning and an action’s inputs. Instead of hard-coding a value, you mark an action parameter (e.g., the Location field on Get current weather) as agent-generated using the stars button. You give it a name, type, and description, and at runtime the model fills it in—per call. The same tool can even be invoked multiple times in one iteration with different values (Seattle and London) because each invocation gets its own arguments.
Prompt-as-API: Treat tool descriptions and agent parameter descriptions like API docs for the model. Vague descriptions = wrong or skipped tool calls. Mirror the connector’s Swagger definition for types and naming.
Peeking at the Code View
The designer is the fastest way to build, but it helps to see what it generates underneath. Every Standard workflow is just a workflow.json definition, and the Agent Loop shows up as an action with "type": "Agent"—its model binding and system instructions live on the action, and each tool is a named container with a description, an agent parameter schema the model fills in, and the actual actions it runs.
Here’s a trimmed, illustrative shape for the weather agent and its Get weather tool:
Notice the two pieces that make it “agentic”: the system message under the agent’s inputs (your instructions), and the tool’s agentParameterSchema—the contract the model uses to pass location into the action at runtime via agentParameters(‘location’). Everything else is ordinary Logic Apps.
Source of truth: The Agent action’s exact property names are still evolving while the feature is in preview, so treat the snippet above as a mental model—not a copy-paste deployment. Build in the designer, then open Code view to see the authoritative JSON your tenant generates.
Conversational Workflows and the A2A Standard
Beyond headless execution, Logic Apps support Conversational Workflows. These always start with the When a chat session starts trigger and expose an integrated chat interface, so the agent can converse back-and-forth—gathering missing parameters, proposing a plan, or confirming intent before it acts.
The reach goes wider than a single chat box. Conversational agents can be called by people, other agents, MCP (Model Context Protocol) servers, and tool brokers—and Microsoft is aligning this surface with the emerging A2A (Agent-to-Agent) direction, where the Logic App acts as a server and an external frontend acts as the client.
For day-to-day building, you test conversational agents right in the portal’s built-in chat using a developer key (a convenience credential bound to your portal session—great for dev, never for production). When you’re ready to publish an external chat client, you move to real authentication (next section).
Human-in-the-Loop and Enterprise Security
True enterprise automation requires oversight. Agents are only as autonomous as you let them be.
- Human Approvals (Human-in-the-Loop): Using connectors like Microsoft Teams, an agent can pause its loop to ping a manager or system owner for explicit approval before touching a critical resource. The human keeps ultimate accountability; the agent is the intelligent assistant.
- On-Behalf-Of Authentication: Agents can authenticate and act under the identity of the user interacting with them, so they never circumvent that user’s access controls.
- Developer key vs. Easy Auth: The portal’s developer key is for design and quick testing only. For production conversational workflows, enable App Service Authentication (Easy Auth) on the Standard logic app with a dedicated Microsoft Entra app registration. Easy Auth isolates tokens, enforces least privilege, and gates who can reach your external chat client.
Security Tip: The developer key is not a substitute for Easy Auth, managed identity, or signed callback URLs. Before exposing an agent to anyone outside your portal session—people, automation clients, or other agents—wire up Easy Auth and On-Behalf-Of so the agent stays inside the user’s access boundary.
Scaling Up: Multi-Agent Handoff Patterns
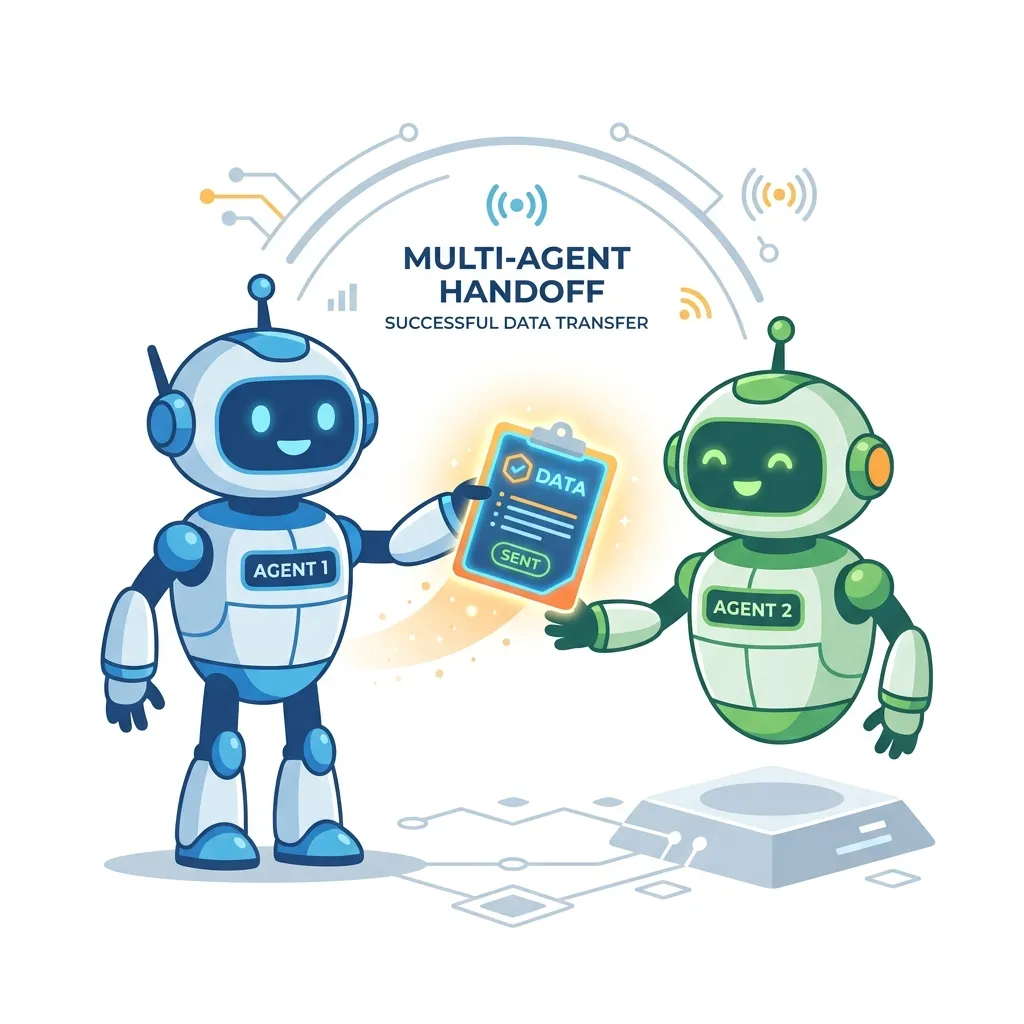
As processes scale, a single “god agent” quickly becomes an anti-pattern—bloated instructions, a giant tool list, and reasoning that drifts. Logic Apps solve this with multi-agent patterns built on state-machine support.
You compose specialized, domain-specific agents that run in sequence, and use the Handoff Pattern to define exactly when one agent pauses and transfers conversational state and context to the next—for example, a Greeter Agent triaging a request and handing off to a Scheduler Agent for calendar work. The routing is transparent to the end user.
One important constraint to design around: you can’t nest an agent as an inline tool inside another agent. Agents collaborate by running in sequence and handing off, or by having one agent orchestrate a team of others (think writer → reviewer → publisher). Plan your topology as a chain or an orchestration, not as agents-within-agents.
Solving the “Black Box” Problem with Observability
A common, fair critique of LLM-driven automation is traceability: if an agent updates a database, you need to know why. Logic Apps prevent black-box execution with granular observability:
- Agent Logs: a transparent, sequential breakdown of every interaction—the agent’s reasoning, the exact tools called, and the precise raw inputs/outputs of those tools.
- Task Timeline: visualizes the lifecycle of a request, which is indispensable for tracing execution across multiple agents and handoffs.
Both live in the monitoring view under Run history, right next to your normal workflow run details—so debugging an agent feels like debugging any other Logic App.
Preview Notice: Agentic workflows (Consumption in preview; Standard generally rolling out) and these observability features are evolving fast. Lean on the Agent Logs to debug and tune your prompts and tool descriptions before you promote anything to production.
Wrapping Up
The Agent Loop doesn’t ask you to throw away deterministic automation—it lets you place reasoning exactly where ambiguity lives, while everything around it stays as reliable as ever. You connect a model, write prescriptive instructions, expose your existing connectors as tools, and add human approval where the stakes demand it.
By turning static workflows into dynamic, reasoning entities that handle ambiguity alongside deterministic logic, Azure Logic Apps is positioning itself as the premier orchestration engine for the next generation of enterprise AI. The fastest way to internalize it is to build the weather agent above, watch the Agent Log, and then point the same pattern at a real problem on your plate.
Read next