Beyond Text: Architecting Interactive Copilot Widgets with MCP & Dataverse

Writer

If you’ve been working within the Microsoft AI ecosystem, your mind is about to be absolutely blown. Microsoft 365 Copilot is no longer restricted to just returning text-based responses. Thanks to the Model Context Protocol (MCP), we can now engineer interactive, dynamic widgets and inject them directly into the Copilot chat interface.
In this architecture, MCP apps act as the engine—providing the data and actions—while custom widgets serve as the frontend visual interface. Today, we’re going to architect an end-to-end solution: a Construction Worker Management schedule visualizer.
Let’s dive into the deployment trick, data shaping, and local UI testing required to build an impressive new agent for your organization.
Phase 1: The Dataverse Foundation
To surface data in a widget, we first need to define what data our MCP server is allowed to consume. We do this by creating a Model-Driven App in Power Apps (make.powerapps.com).
Architectural Note: Every model-driven app now contains a built-in MCP server that we can enable to expose its underlying tables.
For this build, we are using three tightly coupled Dataverse tables:
- Construction Job: Contains
Job Number,Customer,City, and overall schedule dates. - Construction Worker: A roster containing
NameandPrimary Skill(e.g., Electrical, Plumbing, Carpentry, Welding). - Job Assignments: The junction table matching a worker to a specific job with localized
Start DateandEnd Datefields.
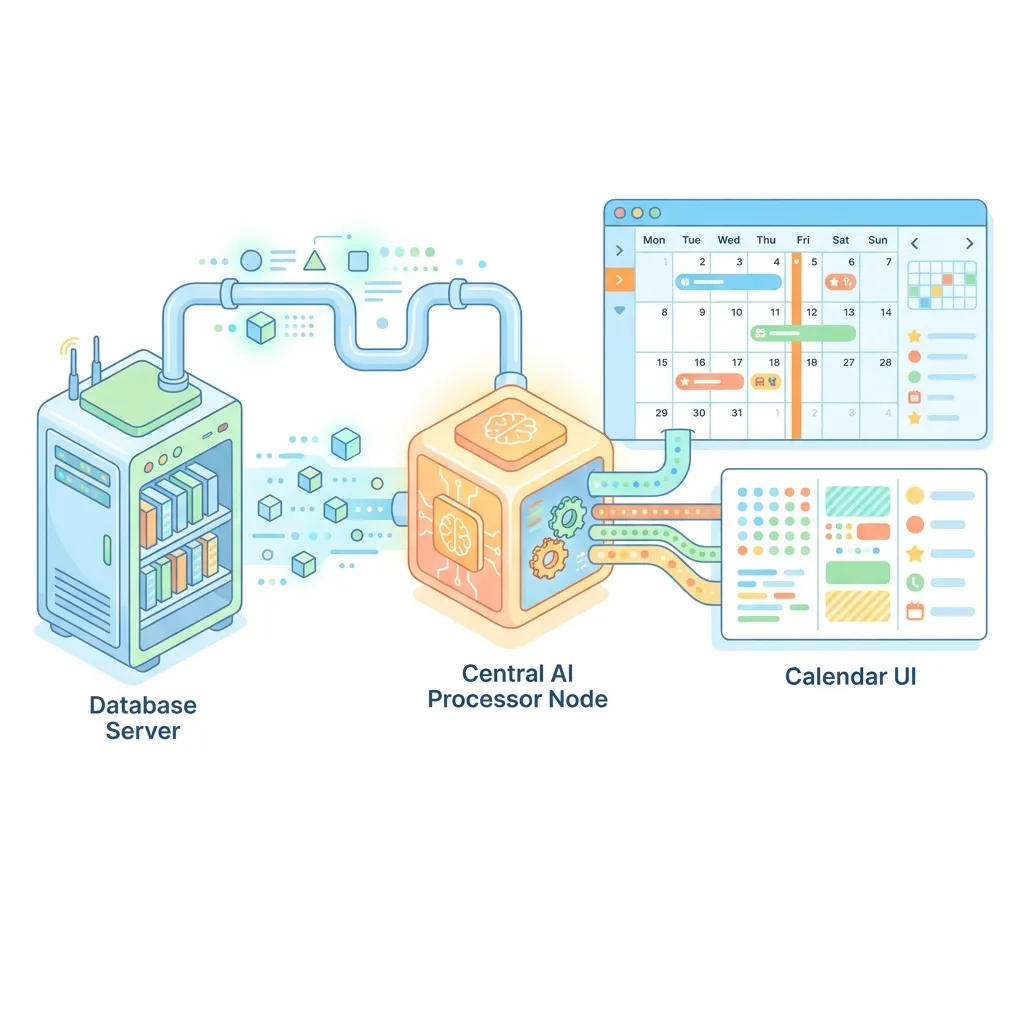
Phase 2: Activating and Engineering the MCP Tool
Once your tables are added to the model-driven app, click Setup MCP server. Once initialized, navigate to the Create custom tool menu (powered by the familiar Power Platform prompts interface).
Defining the Trigger
Name your tool view daily schedule by employee. The Description field here is critical; it is not for the user, but for the LLM. It defines the agent’s routing logic.
Example Description: “This tool displays employee job assignments in a calendar-like visual to help managers understand the schedule.”
Prompt Engineering & Variable Injection
We aren’t building the visual here; we are engineering the data pipeline to feed the visual. We need to construct a prompt that fetches our Dataverse records based on dynamic inputs.
Using slash commands, insert variables to control the data flow:
[start date][end date][city]
The Prompt Schema:
Instruct the model to return a structured JSON object. You want an array of employees (pulling Name and Primary Skill), and nested within each employee, an array of their job assignments (pulling Job Number, Customer, City, Start Date, and End Date from the related tables).
Pro-Tips for Tool Optimization:
- Data Formatting: Explicitly prompt for camelCase keys and standard date formats to make your frontend code cleaner.
- Model Selection: Bump the processing model up to the highest available tier (e.g., GPT-4/5 class) for robust complex JSON generation.
- Retrieval Limits: Increase the record retrieval setting to
1000to ensure your visual calendar doesn’t truncate data prematurely.
Hit Test to validate your JSON payload.
Phase 3: Generating the UI Widget via CLI
With our data pipeline shaped, we need the HTML/JS/CSS to render the calendar. Instead of hand-coding this in Power Apps, we will leverage GitHub Copilot CLI (or Claude Code) in VS Code.
- Install the Microsoft MCP apps plugin/skills for your CLI (e.g.,
generate MCP app UI). - Run the
generate MCP app UIcommand. - The Input: Provide a strict declarative prompt describing the visual: “Visualize the work schedule using a calendar style display. Rows = employees, Columns = calendar days. Events can span multiple days. Include employee name/skill. Only display Monday-Friday.”
- The Context: Paste the sample JSON output generated during your Power Apps tool test so the CLI knows the exact data structure it is binding to.
Copilot will generate a complete work_schedule_widget.html file.
Phase 4: The Local Testing Workflow (Crucial Trick)
If you preview the raw HTML right now, it will likely just say “Loading schedule…” because it is waiting for live Copilot data. To iterate quickly, we need to mock the environment natively.
- Install the Live Server extension in VS Code.
- Create a local
work_schedule.jsonfile and paste your sample Dataverse payload inside. - Prompt the CLI to build a preview toggle: “I want to test changes locally. Update the HTML to read from work_schedule.json ONLY when the URL ends with
?preview=1.”
Now, by appending ?preview=1 to your Live Server URL, the widget renders immediately on your machine.
This allows for rapid iteration. Notice an anomaly? Jump back to your CLI side-chat: “For any construction workers who have no job assignments, do not show them on the calendar.” The code updates, Live Server refreshes, and the UI is perfected—zero redeployments necessary to Power Apps during iteration!
Phase 5: Deployment & Execution
Once the UI is polished locally:
- Copy the HTML code and paste it back into the Widget Code box in your Power Apps MCP custom tool setup.
- Save, Publish, and download the app package (your declarative agent).
- Navigate to Microsoft Teams -> Apps -> Manage your apps -> Upload a custom app and sideload your new agent package.
Showtime
Open M365 Copilot and select your new agent.
Prompt: “Show me the July schedule for Atlanta.”
Watch the magic happen. The agent understands the implicit dates for July, maps “Atlanta” to the [city] variable, queries Dataverse, structures the JSON via the MCP tool, and natively renders your interactive, scrollable calendar widget right in the chat flow.
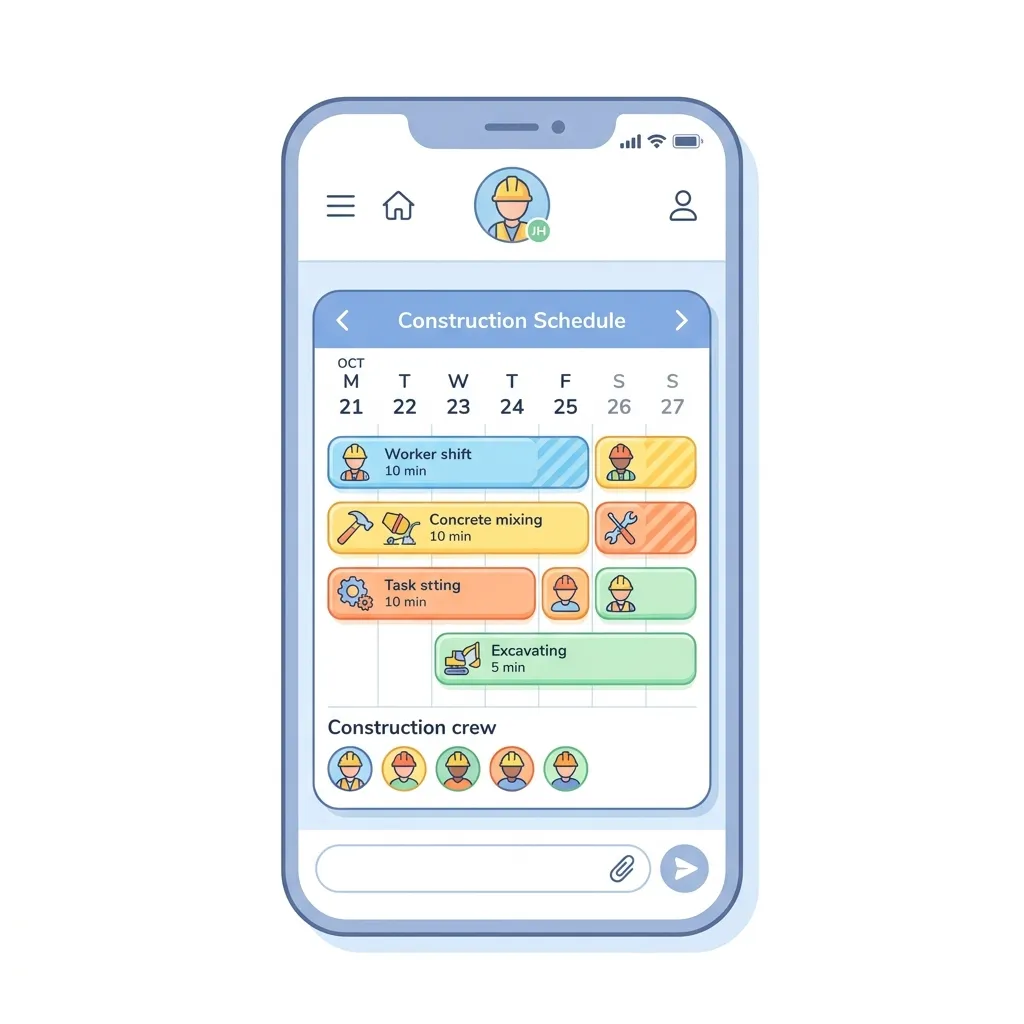
Custom widgets are fundamentally changing the boundaries of conversational AI. We are no longer just retrieving data; we are orchestrating fully functional, highly visual micro-applications on the fly. Let’s get building.
Read next
Related articles

Mastering Copilot Studio: 2026 Release Wave 1, Agentic Workflows, and Enterprise Governance

Architecting Custom UIs for Dataverse with Copilot, MCP Apps, and Declarative Agents