Copilot SDK 1.0 GA: Rust Runtime & Canvas-Driven AI

Writer
GitHub just shipped the update agent builders have been waiting for: the Copilot SDK has officially reached General Availability (1.0 Stable). If you are tired of generic, out-of-the-box AI assistants and want the exact agent engine behind GitHub Copilot running inside your own application, this is the toolkit.
TL;DR — What shipped at GA
- Six languages: Node.js/TypeScript, Python, Go, .NET, plus Rust and Java (new at GA).
- Same engine as Copilot CLI: planning, tool invocation, file edits, streaming, multi-turn sessions — you don’t build the agent loop.
- A new Rust SDK that bundles the Copilot CLI binary by default.
- Custom tools + MCP, fine-grained system-prompt editing, a lifecycle hook system, and OpenTelemetry tracing.
- Flexible auth: GitHub OAuth, GitHub Apps, environment tokens, and BYOK (OpenAI, Microsoft Foundry, Anthropic, and others).
- Secure execution: local and cloud sandboxes powered by Microsoft MXC, announced alongside the SDK at Build.
Background & Provenance
The Copilot SDK entered technical preview in January 2026 with four languages — Node.js/TypeScript, Python, Go, and .NET. Over the months since, it’s been heavily battle-tested internally across major divisions including LinkedIn, Xbox, and GitHub itself. That internal vetting is what makes the 1.0 GA release production-ready, and GA is where Rust and Java join the lineup.
The Core Architecture: A Thin Client with Massive Reach

The Copilot SDK is a thin client that drives the Copilot CLI running in server mode — the exact same engine that powers GitHub Copilot. Your code never talks to an LLM directly; it talks to the SDK, which speaks JSON-RPC to the CLI, which owns all the hard orchestration:
This is the whole point: you don’t build your own agent loop, manage context windows, or wire up tool-execution pipelines. You define what your agent should do; Copilot handles planning, tool calls, retries, and file operations. The SDK even manages the CLI process lifecycle for you (or you can point it at an external CLI server for distributed deployments).
Prerequisites & Installation
Before you write a line of code, you need three things:
- The Copilot CLI. For Node.js, Python, and .NET, it’s bundled automatically — nothing to install. For Go, Java, and Rust, install it manually and confirm it’s on your
PATH:Code - A compatible runtime: Node 20+, Python 3.11+, Go 1.24+, Rust 1.94+, .NET 8.0+, or Java 17+.
- Auth: a GitHub Copilot subscription (Copilot Free works for personal use) — or BYOK with your own provider key, no GitHub login required.
Install the SDK with your standard package manager:
Your First Agent in 30 Seconds
The unit of work is a session: you start a client, open a session against a model, send a prompt, and read typed events back. Here’s the full round trip in TypeScript:
The same shape in Python:
Want tokens as they’re generated instead of waiting for the full answer? Streaming is a flag, not a different API:
Custom Tools: Where It Stops Being a Chatbot
The feature that turns this from “a wrapper around a model” into an agent is custom tools. You write a typed function; the SDK runs the invocation loop and lets the model call it autonomously:
When the model decides it needs to deploy, it calls your handler, gets the result, and keeps reasoning. You wrote a function; Copilot made it agentic. Already have an MCP server? The agent connects to it directly — your existing tools come along without a rewrite.
Keep this deploy_preview tool in mind — it’s exactly what the @editor deploy inline tag in the next section spawns under the hood.
Under the Hood: The Node-to-Rust Story
Two distinct things wear the “Rust” label here — don’t conflate them:
- The Rust SDK (shipping today). New at GA, it bundles the Copilot CLI binary by default, so a single
cargo addgives you an embeddable agent host with no separate CLI install. - The CLI runtime rewrite (in progress). The CLI server was originally built on Node.js, historically consuming ~100–120 MB of RAM. To make the runtime truly embeddable and fast on native platforms, the team is migrating it to Rust.
Per the figures shared at Build 2026, early POCs of the Rust runtime push the memory footprint toward sub-10 MB with gains across every measurable dimension — effectively eliminating the bloat of spinning up a local agent and unlocking native support on far more platforms. Treat the memory numbers as POC targets, not a GA spec, but the direction is clear: lean enough to embed anywhere.
Rethinking AI UX: The Canvas-Based Paradigm

Chat has dominated AI for years, but the SDK enables something more integrated. At Build 2026, Microsoft demoed a custom orchestration app called “Wim” that flips the chat model on its head.
Instead of talking to an AI in a side panel and pasting its output into your workspace, the future is canvas-based AI: agents write directly into the document or canvas.
- Start with the work — a document, a codebase, a project plan.
- Spawn inline — write a to-do list and drop an inline tag (e.g. typing
@editor deploynext to a bullet). That tag opens a session whose toolset includes exactly the capability you need — thedeploy_previewtool from earlier is one such handler. - Output lands in the canvas — the agent finishes and injects the result back inline. The chat log still exists if you want to audit the reasoning, but it’s no longer the primary surface.
The mental model: an inline tag = a scoped session + a curated toolset. That’s the whole trick, and it’s a few lines of SDK code.
Agent Personas & Orchestration Environments
Zero-friction automation means specialized agents running in the right environments. Because each session takes its own model and tools, you compose personas by composing sessions:
- The Editor Agent — writing, content refinement, formatting.
- The Development Agent — code, repo checkouts, modifications.
- The Sandbox Agent — runs local code securely (see MXC below).
- Ephemeral Cloud Workers — cloud-based agents that run independently of your machine.
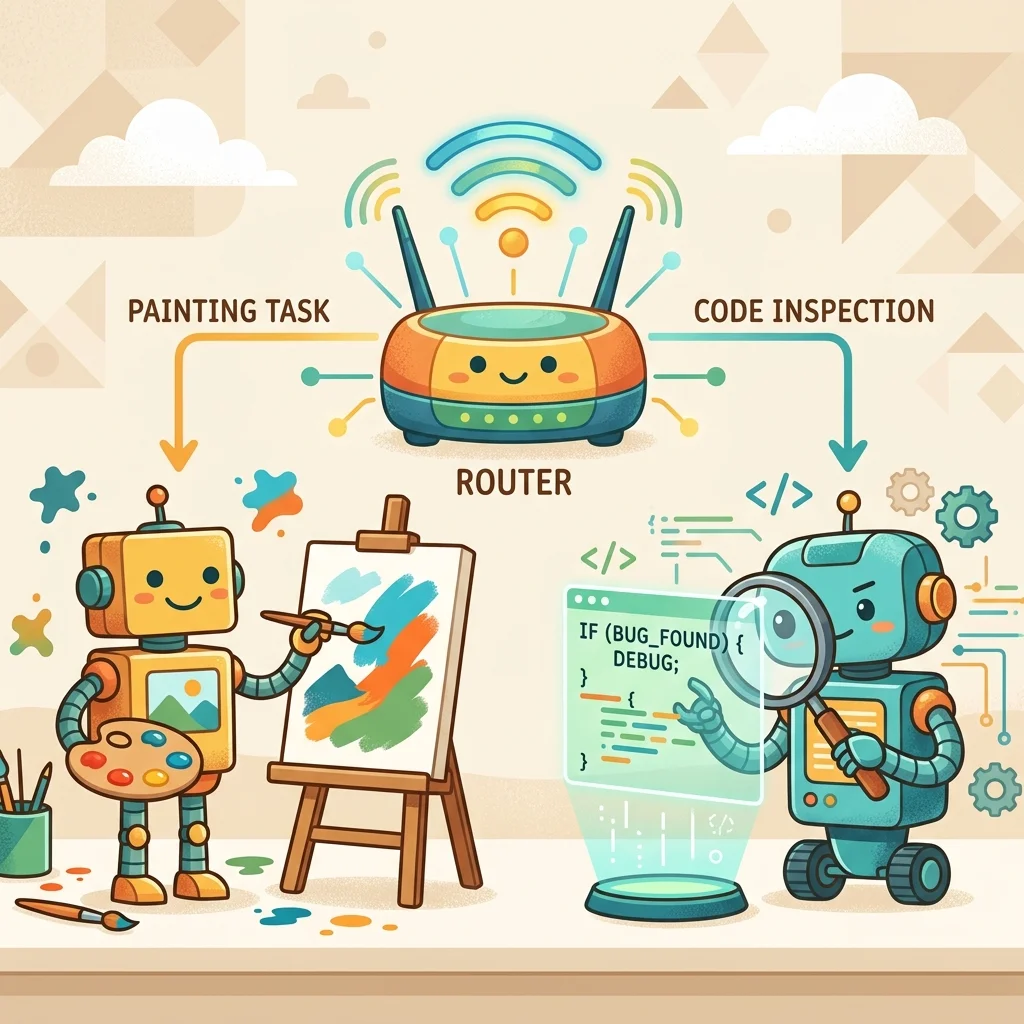
In practice, an orchestrator is just a router that opens the right session for the task:
Security & Interaction Mechanics
As agents take more actions on your behalf — running commands, editing files, hitting the network — you need real execution boundaries, not just trust. At Build 2026, Microsoft introduced MXC (Microsoft Execution Containers): an OS-level, policy-driven sandbox built into Windows and the Windows Subsystem for Linux. You declare what an agent may touch before it runs, and the OS kernel enforces those boundaries at runtime, binding every agent to a strong identity (local or Microsoft Entra). It’s a “composable sandbox spectrum” — from lightweight process isolation all the way up to micro-VMs, Linux containers, and full cloud instances — and GitHub Copilot CLI is one of its first adopters.
Here’s how that maps to the SDK’s execution options:
- Local sandboxes (Preview), built on MXC. Inside any Copilot session, isolate shell execution with restricted access to your filesystem, network, and system capabilities. Enable it directly in a CLI session:
It works consistently across macOS, Linux, and Windows, is included in the standard Copilot seat, and enterprise teams can enforce policies centrally via Microsoft Intune and other MDM platforms.Code
- Ephemeral cloud sandboxes (Preview). Spin up a fully isolated, GitHub-hosted Linux environment and run tasks there instead of on your laptop:
Built on Azure Container Apps Sandboxes, these sessions are resumable across devices — trigger an agent, close your laptop, and pick the session back up from your phone. They inherit your existing Copilot cloud-agent policies, so your org’s controls apply on day one.Code
- Yolo Mode. For highly trusted agents, run unconstrained with automated approvals.
“Yolo Mode” isn’t a vibe — it’s a permission handler. Every tool call normally raises a permission request; auto-approving them all is what unconstrained execution actually means:
The safe way to run Yolo is inside a sandbox so a misfire can’t touch your host. A common pattern is a disposable microVM — for example, Docker Sandbox launches Copilot CLI in full autonomous mode in one line:
For everything short of full trust, do the opposite of approve-all: register a preToolUse hook that inspects each pending command and blocks anything outside an allowlist. Hooks fire at lifecycle points (sessionStart, preToolUse, postToolUse, permission requests), so you can enforce guardrails without rewriting the agent.
Security First: approve_all belongs in a sandbox, not on your laptop.
Wrap autonomous agents in a local MXC sandbox (/sandbox enable), a cloud
sandbox (copilot --cloud), or a disposable microVM — and gate risky tools
behind a preToolUse hook — before letting anything run unconstrained near
production.
Auth & BYOK: Don’t Get Locked to One Bill
Out of the box the SDK picks up your copilot CLI login or environment tokens (COPILOT_GITHUB_TOKEN, GH_TOKEN, GITHUB_TOKEN). But BYOK lets you point the same runtime at a provider you already pay for — OpenAI, Microsoft (Azure AI) Foundry, Anthropic, or even local models — with no GitHub authentication required. That’s what makes the model-routing strategy below practical: you control which model (and which bill) each agent runs on.
Model Routing Strategy (Mid-2026)
Don’t rely on a single LLM for everything. A highly effective mid-2026 pattern is routing tasks to the model that’s best at them:
- Opus — high-level creative design, architecture, and initial code generation.
- GPT-5.5 — rigorous code review, strict execution, and implementation tasks.
Because the model is just a per-session parameter, routing is trivial — open one session per role and hand work to whichever fits:
Tip: Model IDs evolve fast. List what your CLI actually exposes (copilot --help / the models command) rather than hard-coding a string, and keep the
routing map in one place so you can swap models without touching call sites.
Model Routing Tip: Route across models to exploit their different training. Have one model (e.g. Opus) generate the initial implementation, then a distinct model (e.g. GPT-5.5) verify and review it. The two-model handoff consistently produces a stronger final result than a single model marking its own homework.
Expert Tips for AI Integration
The SDK team shared several guidelines worth internalizing:
- Stop Counting Tokens — don’t let token anxiety throttle productivity. Burn tokens to find the model’s limits; treat the spend during development as R&D that shortens the gap between idea and outcome.
- Build Personal Intuition — learn how the raw models behave, like building trust with a new coworker.
- Avoid Generic Solutions — don’t lean entirely on packaged software. Use the SDK to build a personal agent that matches your specific, idiosyncratic workflow.
- Start Small — master the pure Copilot CLI first to understand raw model behavior, then scale up to multi-agent orchestration.
Where to Go Next
The fastest path from here:
npm install @github/copilot-sdk(or your language’s command above) and run the first-agent snippet.- Add one custom tool that wraps something you already do by hand.
- Turn on a sandbox (
/sandbox enablelocally, orcopilot --cloud) before you let an agent run autonomously. - Browse the official cookbook for per-language recipes, and read the Getting Started Guide in the
github/copilot-sdkrepo.
Start with a single session and one tool. Once you trust the loop, the canvas, the personas, the MXC sandboxes, and the cloud workers are just more of the same primitive — composed.
Read next